Sure, you can pick up a package at the store but these easy homemade English muffins are super fresh and tasty with some jam or chutney!
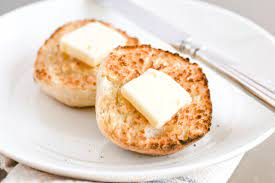
Easy Homemade English Muffins
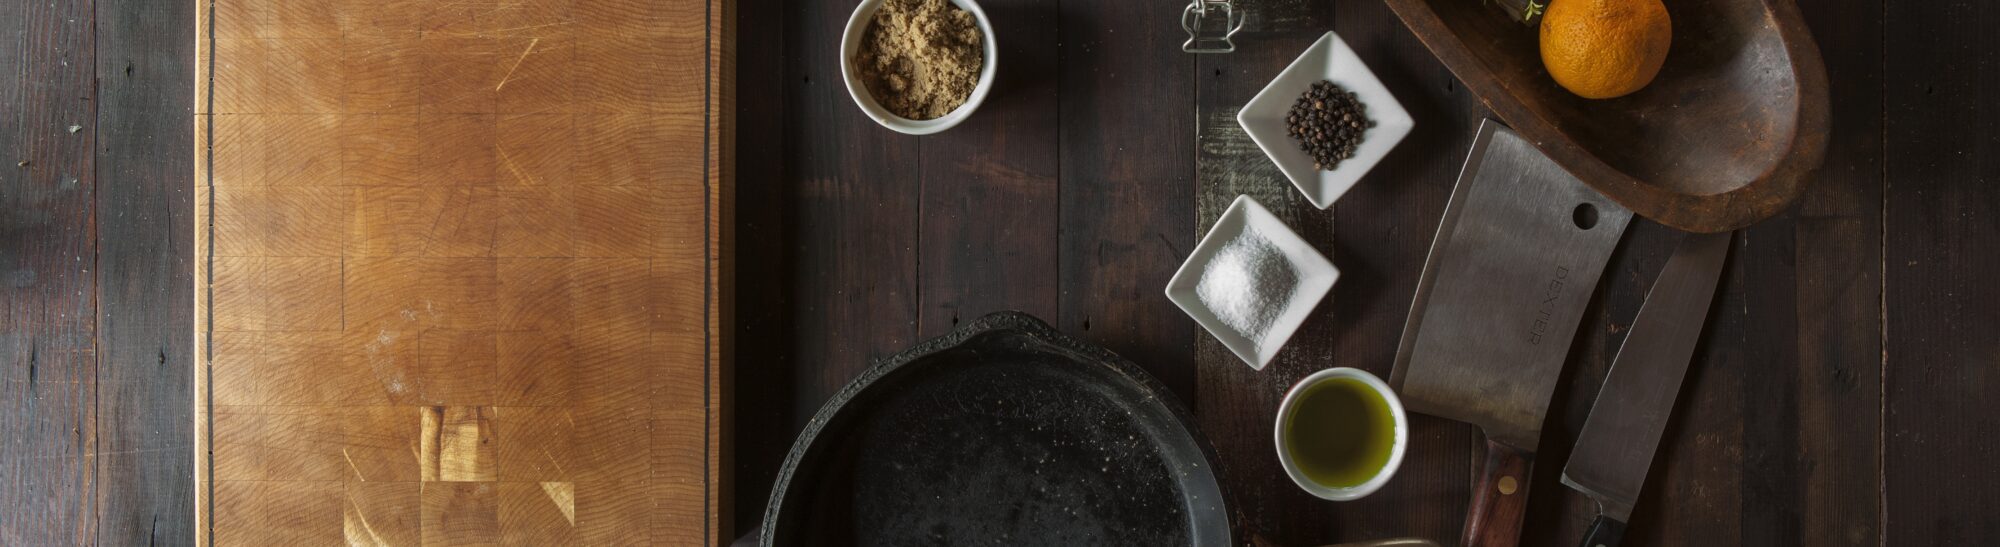
Ingredients
Starter:
- ¾ cup water
- ⅛ tsp yeast
- ¼ tsp sugar
- 1½ cup all-purpose flour
English Muffin Dough:
- ¾ cup milk
- 2 tbsp butter
- 2 tbsp sugar
- 1 tsp yeast
- 1¾ cups all-purpose four
- 2 tbsp cornstarch
- 1 tsp salt
- 2 tsp baking powder
Instructions
Starter:
- In a small microwave-safe bowl, mix water and sugar. Heat in microwave to a temperature of between 110℉ - 115℉. This should take less than a minute and it’s very important to use a thermometer to get the correct temperature.
- Dissolve yeast in water mixture and set aside for 7 minutes to proof. Normally, I would look for a foam to form on the top but in this case, because of the small amount of yeast, the blooming will not be obvious.
- Mix the flour with the yeast mixture. Cover and leave it at room temperature for at least 4 hours or up to 16 hours. It will be fluffy and full of bubbles.
English Muffins:
- In a small microwave-safe bowl, mix milk, butter and sugar. Heat in microwave to a temperature of between 110℉ - 115℉. This should take less than a minute and it’s very important to use a thermometer to get the correct temperature.
- Dissolve yeast in milk mixture and set aside for 7 minutes to proof. It should “bloom” or form a foam on top.
- In the bowl of a stand mixer, place the flour, cornstarch, salt and baking powder. Add starter and bloomed yeast mixture. Beat on low speed for 8 minutes.
- Cover and let rise for 1½ hours.
- Preheat a skillet to 325℉. Place English muffin rings (I used silicone egg rings) on the skillet and spray lightly with cooking spray. Pour ¼ cup of batter into each ring and “swish” it around a bit to spread it out.
- Cook undisturbed for 10-15 minutes until a skin forms on the upper side of the muffin. Remove the ring, flip the muffins and cook for another 5-7 minutes or until the internal temperature reaches 200℉.
- Transfer muffins to a rack and allow to cool completely. For the best flavor, store in a tightly covered container or plastic bag overnight before eating.
- Hack: If you prefer to bake these in the oven, reduce the initial rising time to one hour. Place rings on a baking sheet and coat lightly with cooking spray. Pour ¼ cup of batter into each ring, cover and let rise for an additional hour. Bake in a preheated 350℉ oven for 25 minutes or to an internal temp of 200℉.
- Hack: If you don’t have rings, you can make these without them. The edges will not be as well-defined but they will still taste great!
- Hack: Store English muffins at room temperature for 1-2 days, in the refrigerator for up to 4 days or in the freezer for up to 8 weeks.
While the origin of the English muffin is uncertain, the name is strictly American. The British version is known as a “crumpet”. Check out some more fun facts here!
Suggestion: Serve these with some old-fashioned apple butter or fig chutney!


